Lanier printers are renowned for their quality and reliability. Every unit is a worthy investment and guaranteed to last for a while. However, one common concern among Lanier printer users is encountering an error message saying to replace the ink cartridges, even when it’s not needed.
Despite knowing nothing is wrong with your Lanier printer and ink cartridges, you should promptly address the error messages. Doing so can help you save costs, reduce environmental impact, and maintain the high-quality output your Lanier printer is known for.
Fortunately, troubleshooting this technical issue does not need you to break a sweat. After a few steps, you will be good to go.
Understanding Lanier Error Messages
Common Lanier error messages related to ink cartridge replacement include messages such as “Replace Ink Cartridge” or specific error codes like A163, B202, and C301. These messages may appear prematurely, causing frustration among users.
These errors primarily occur due to a miscommunication between the printer and the ink cartridge. It can happen when the printer fails to gauge the ink level accurately or if there are issues with the cartridge’s electrical contacts. Additionally, non-genuine or refilled cartridges can trigger these errors as the printer’s firmware may not recognise them.
Ignoring these errors can have detrimental consequences, such as:
- Unnecessary replacement of ink cartridges, resulting in increased operational costs
- Bad print quality, resulting in subpar documents
- Printer malfunctions or damage
Mitigate these issues by following our troubleshooting steps. Resolve these problems right away to preserve the optimal performance of your Lanier printers and ink cartridges.
Troubleshooting Lanier Ink Cartridge Errors
Toner City provides you with easy to follow steps to fix the Lanier ink cartridge errors.
Step 1: Inspect the genuineness of the Lanier ink cartridges
Using genuine ink cartridges is the best solution to prevent your Lanier printer from prompting a message to replace ink cartridges even when not needed. Authentic Lanier ink cartridges work seamlessly with Lanier printers, ensuring compatibility and reliability. Non-genuine or refilled cartridges may not register with the Lanier printer’s software, leaving the unit to function erratically.
To identify the real Lanier cartridges, look for the brand logo on the packaging and the cartridge itself. Each genuine cartridge has a unique serial number and a holographic security label. Scrutinising these elements helps verify authenticity.
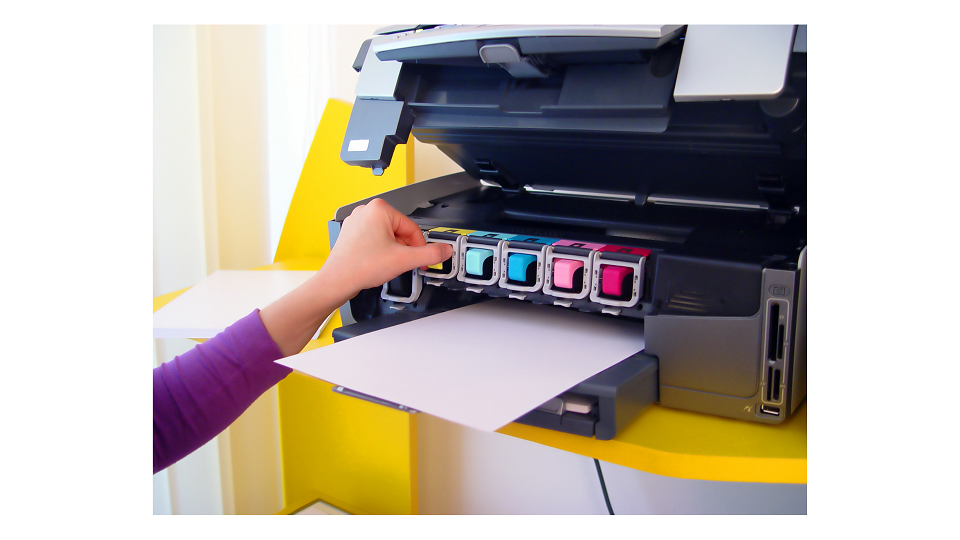
Step 2: Install the cartridge properly
Follow these steps when removing old Lanier ink cartridges:
- Turn off your Lanier printer and allow it to cool down.
- Gently open the printer cover.
- Find which ink cartridge needs replacement.
- Depending on your printer model, release the cartridge lock or latch by gently pushing or lifting it.
- Carefully grasp the old cartridge by its sides and pull it out of its slot. Find arrows and labels to determine the direction of removal.
When installing a new cartridge, follow this guide:
- Unpack the new Lanier ink cartridge. Don’t touch the nozzles or electrical contacts.
- Softly shake the cartridge to distribute the ink evenly inside.
- Slide the new cartridge into the corresponding slot. Make sure that the cartridge is secure.
- Lock the cartridge in place by pushing down on the latch or locking mechanism until it clicks.
Step 3: Clean your units
It is advisable to regularly clean your Lanier printer’s printheads and cartridges every few months or when print quality is degrading. Follow these instructions to clean your printers and ink cartridges:
- Turn off and unplug the printer.
- Open the printer’s front or top cover to access the printheads.
- Remove the ink cartridges.
- Dampen a lint-free cloth with distilled water or isopropyl alcohol and gently wipe the printheads.
- Clean the cartridge contacts as well.
- Dry all the components before reinserting the cartridges.
- Reinstall the cartridges.
- Turn on the printer and run a test print to confirm improved quality.
Step 4: Keep up with firmware updates
Installing Lanier printer firmware updates enhances the unit’s performance and resolves ink cartridge errors. Further, when your printer is updated, you can stabilise its functions and fix software bugs.
To update your printer’s firmware, visit the Lanier website. You may also call our specialists to assist you.
Step 5: Contact customer support
For users encountering persistent printer errors, it is advisable to seek customer service support. You may need professional help, especially when common troubleshooting steps fail to resolve issues.
Lanier Ink Cartridges You Can Trust
It gets really annoying to keep seeing the Lanier printer messages saying to replace your ink cartridges even when it is not needed. By learning the above-mentioned tips, you should print without hassle and interruptions. When shopping for genuine Lanier ink cartridges, Toner City is the place to be. Check out our latest stock today.